
Ingredients
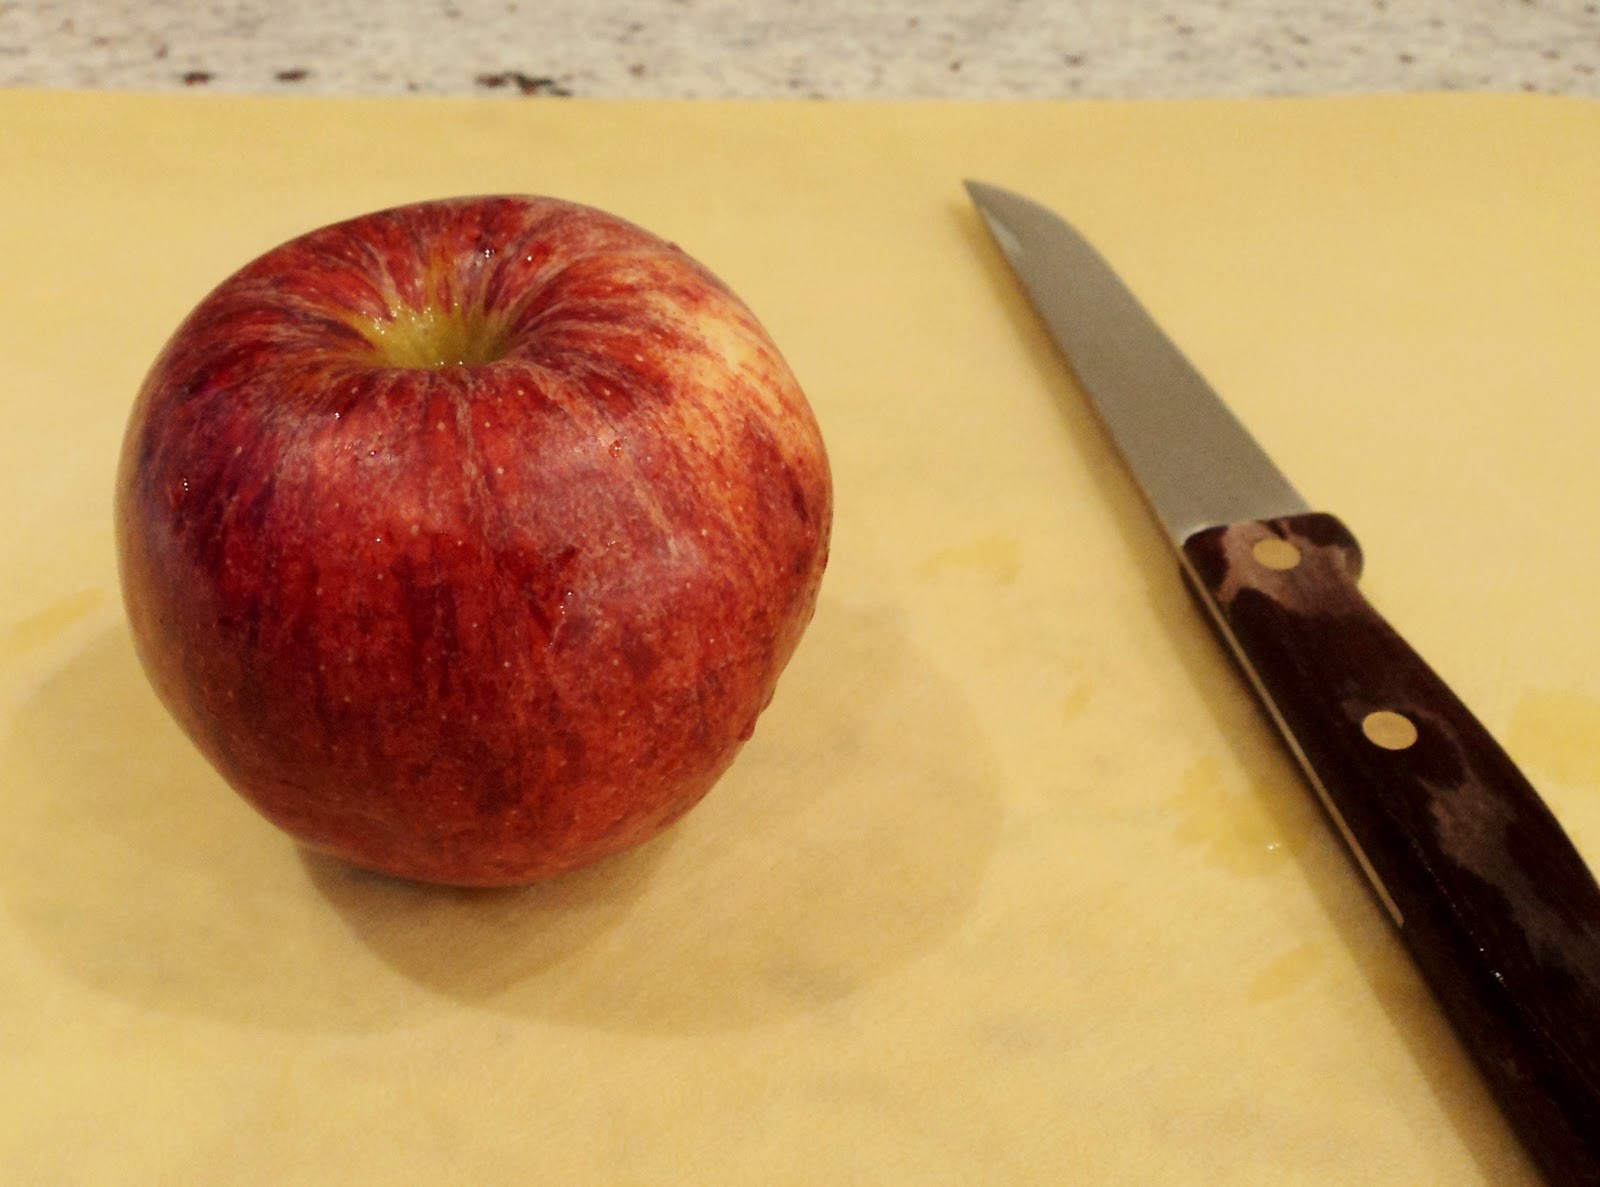
All you need is a preferably big apple, washed.

Method
1.Make two slices, each equal thickness, from the top of the apple down, leaving about 1cm from the core. Discard/eat the end slice, and put the other aside.


2.Place the apple with the now flat side down, and cut along the apple horizontally until just before the core. Then cut straight down from the curved side until it meets the end of your first cut, producing a segment. Repeat with the other side, so it looks like the picture. Both these segments are now called 'segment A'.


3. Take the first 'segment A', leave 1/2cm gap, and cut down and across like before to create another segment. This is now called 'segment B'. Repeat on the other side so it looks like the picture.

4.Repeat as many times as possible. On a big apple you should manage to create 3 segments, but 2 is fine. Align the segments with a small space inbetween to create the look of layered feathers.

5.Cut out a small rectangle from the top of the apple, around 1cm deep.

6.Take the slice of apple you put aside, and cut a head and neck out of it, using the apple's curvature to create the curved neck.
7.After a little carving and chipping away, push the base of the neck into the hole on the top and your swan is ready.
No comments:
Post a Comment