Showing posts with label lemon. Show all posts

Friday, 3 October 2014

Lemon Meringue Pie Cupcakes

A nice twist on a classic dessert; these zesty cupcakes should blow your taste buds away. It's comprised of lemon cupcake, lemon curd, swiss meringue and a little biscuit. If you're lucky enough to have a blowtorch, then you can use it to finish the cupcakes, otherwise they will need to go under the grill. Makes 12 Cupcakes or 24 mini cupcakes.

 Ingredients

For the Lemon Cupcakes
100g Butter, Softened
200g Caster Sugar
4 tsp Lemon Zest
2 Eggs, Beaten and at Room Temperature
225g Self-Raising Flour
125ml Milk

For the Biscuits
112g Plain Flour
55g Butter, Cubed
40g Sugar
1/2 a Large Egg, Beaten
2 tsp Lemon Zest

For the Swiss Meringue
2 Egg Whites
125g Caster Sugar

Lemon Curd, Store-bought or homemade

Method
1.Start with the biscuits. Heat the oven to 180C/160C fan/350F, and line a baking tray. Place the flour, butter and sugar into a mixing bowl, and rub the butter in with your fingertips until the mixture resembles breadcrumbs.

2. Mix in the lemon zest and the egg to form a dough, and wrap in clingfilm and chill for 20 minutes. After chilling, roll dough on a floured surface to about 1cm thickness, and using small cookie cutters or a knife (depending on the size of cupcakes you're making), cut out the biscuits, and place on the baking tray. 

3. Place the baking tray in the fridge for about 10 minutes to ensure the biscuits hold their shape, and then place in the oven for about 15 minutes, or until lightly browned. Take out and cool on a wire rack, and keep the oven on.

4. For the cakes; grease/line cupcake trays, and cream the butter, sugar and lemon zest together in a freestanding or hand mixer until cream in colour, and then gradually add the beaten egg, mixing well after each addition, being careful not to add too much to make the mix curdle. 

5. Sieve 1/4 of the flour into the mix, and fold in with a large spoon. Add in 1/4 of the milk and do the same. Alternate between folding in flour and milk until finished, and then divide between cupcake holes. Bake for 15-20 minutes, or until a skewer comes out clean (beware - they are lighter than normal cupcakes, so be careful not to overbake). Transfer to a wire rack to cool completely.

6. In each of the cupcakes, cut a small cylinder out of the centre with a sharp knife, and cut of some of the bottom of the cylinder you have just cut out, to form almost a lid for the hole. Fill a piping bag with lemon curd, and using a fine nozzle, or a cut a small hole, and pipe the lemon curd into the cupcakes and cover with the 'lids'. 

7. For the meringue, set up a bain-marie by putting water in a saucepan, and keeping it at a temperature where it's not bubbling on the surface at all, but steaming. Place the egg whites and sugar in a plastic bowl, and place on top of the pan. Using an electric hand mixer, whisk, making sure to touch the bottom of the bowl. Once you start to see pretty defined waves created by the mixer, mix for about 2-3 minutes more, where you should have a pretty thick consistency that holds a peak. Take the bowl off the saucepan and leave to cool.

8. Using a piping bag with a star nozzle, or even a round one, pipe the meringue onto the cupcakes in any design you want. If you have a blowtorch, heat around the top of the cupcakes until browned as much as you want, otherwise place the cupcakes under the grill, keeping an eye on how brown they are getting. Once done, place a biscuit on top.

Enjoy :)

Saturday, 8 December 2012

Jammie Dodgers: My Take

'If it 'aint broke, don't fix it' - Bert Lance. I decided to take on the challenge of making a variation to jammie dodgers, and it actually worked quite well. Essentially I have made a brown sugar shortbread biscuit with reduced strawberry jam in the middle and a lemon icing on top. This recipe made about 32 biscuit sandwiches for me as I experimented with quantities of ingredients, so get ready for multiple trips to the oven!


 Ingredients

For the Biscuits:
225g Unsalted Butter, Softened
100g Brown Sugar
100g Caster Sugar
412g Plain Flour
1 Egg, Beaten
2tsp Baking Powder
2tbsp Milk
1/2tsp Vanilla Extract
Pinch of Salt

For the Jam Filling:
340g Strawberry/Raspberry Jam
Few Drops of Lemon Juice

For the Lemon Icing:
150g Icing Sugar, sieved
1tsp Lemon Juice

Method
1. Beat the butter until creamy and fluffy, then add both of the sugars gradually. Mix until very light in colour and texture. Gradually add the egg, beating well after each addition.

2. In a separate bowl, combine the flour, baking powder, and salt, and add to the butter mix gradually, alternating with the milk, mixing at a low speed between each addition. Add vanilla extract. 

3. Divide dough into to two portions, wrap in cling film and chill for 20 mins. 

4. Preheat oven to 180C/fan 160C and line a few baking trays with greaseproof paper. Roll out the dough on a lightly floured surface to about 1/8 of an inch thickness. Using a 2 inch cookie cutter, cut out as many rounds as possible, and reroll and cut the remaining pastry until as much as possible is used up. In half of your biscuits, either using an apple corer, or a smaller cutter, cut out a hole in the middle.

5. Place biscuits onto baking trays and bake for about 10 mins or until slightly browned. When they come out the oven they will be soft, but they will harden. Cool on a wire rack.

6. To prepare the jam: pass all of the jam through a sieve to remove lumps and seeds. Then place into a saucepan with a few drops of lemon juice, and heat on a medium-low heat until steaming, then let it simmer on a lower heat for 2 mins. Chill in the fridge while preparing the icing.

7. To prepare the icing: Mix the icing sugar and lemon juice to form a loose paste - add more icing sugar/lemon juice if necessary. Put the icing into a piping bag with a small plain nozzle. Place all of the cooled biscuits with the hole in the middle on a sheet of greaseproof paper bunched together, and pipe long lines across all of them. Leave to set.

8. Take the jam out of the fridge and lightly spread the biscuits without the hole with a palette knife. Once the icing has set on the tops, place them on top, giving it a light push, so some of the jam will move to the hole in the middle. Add a drop of jam into the hole of each biscuit. 

9. Leave the biscuits in the fridge for the jam to firm up, and they will be ready. Enjoy :)


Monday, 13 February 2012

Apple Swan


Whether you need a center piece for your fruit platter, or just want to make fruit fun, the Apple Swan does the job. It's really simple, yet looks complicated. I recommend using big apples for this, as you can get the wings as far back as is did. Also, you should brush lemon juice onto every part without skin to prevent browning.


Ingredients


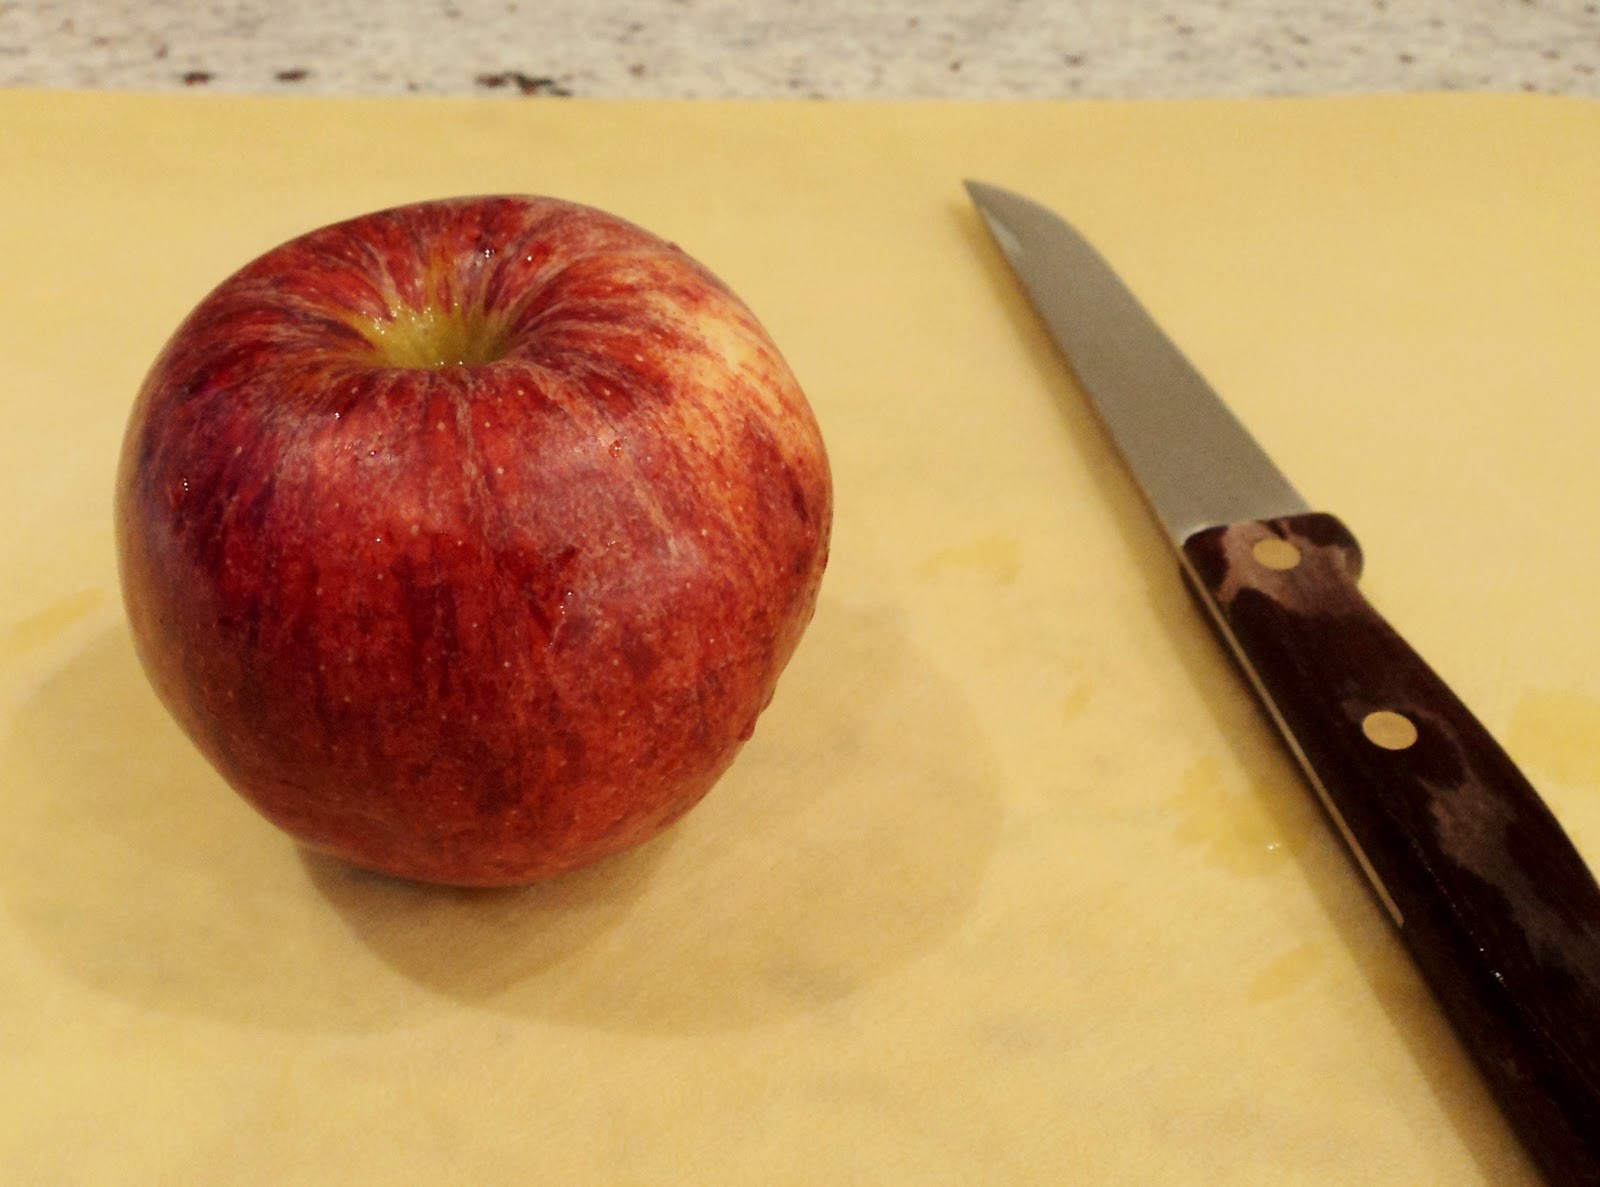
All you need is a preferably big apple, washed.


Method
1.Make two slices, each equal thickness, from the top of the apple down, leaving about 1cm from the core. Discard/eat the end slice, and put the other aside.


2.Place the apple with the now flat side down, and cut along the apple horizontally until just before the core. Then cut straight down from the curved side until it meets the end of your first cut, producing a segment. Repeat with the other side, so it looks like the picture. Both these segments are now called 'segment A'.


3. Take the first 'segment A', leave 1/2cm gap, and cut down and across like before to create another segment. This is now called 'segment B'. Repeat on the other side so it looks like the picture.


 4.Repeat as many times as possible. On a big apple you should manage to create 3 segments, but 2 is fine. Align the segments with a small space inbetween to create the look of layered feathers.


 5.Cut out a small rectangle from the top of the apple, around 1cm deep.


6.Take the slice of apple you put aside, and cut a head and neck out of it, using the apple's curvature to create the curved neck. 


7.After a little carving and chipping away, push the base of the neck into the hole on the top and your swan is ready.