Showing posts with label centerpiece. Show all posts

Monday, 28 May 2012

Double Chocolate Dipped Strawberries

Summer has finally come to England, and there's no better way to celebrate it than strawberries. This delicious and indulgent dessert looks as good as it tastes, and is much easier than you may think. For the adults out there, add some liqueur to the melted dark chocolate for an extra boozy kick. Also, i recommend cutting the stalks off, and chilling the strawberries before starting. I've written approx. for the chocolate, as it depends how much you use per strawberry. If you don't want to have the dark chocolate, skip to halfway step 3.

 Ingredients

1 punnet strawberries
Approx. 50g Dark/Plain Chocolate
Approx. 25g White Chocolate

Method

1. Wash and dry the strawberries, and melt the dark chocolate. Once melted, pour into a ramekin.

2. Dip each strawberry into the chocolate about 1/2-3/4 of the way, and let all the excess chocolate drip off into the ramekin. Place with the chocolate facing up onto a sheet of greaseproof paper.

3. Let the chocolate set completely (if in a rush, put them in the fridge to set), and melt the white chocolate.

4. Hold a strawberry from the bottom over the pan/bowl of white chocolate. Take a small spoon of white chocolate, and let some drip off until the stream is thin. 

5. While moving the spoon around the strawberry, let the chocolate drip onto it, and enrobe the strawberry. WARNING: do not try to scrape off failed attempts of white chocolate from the dark base layer; the liquid white chocolate will melt some of the chocolate below, and you'll end up with a smudged mess.

5. Again, let the chocolate set, and let them come to room temp. before serving.


Monday, 13 February 2012

Apple Swan


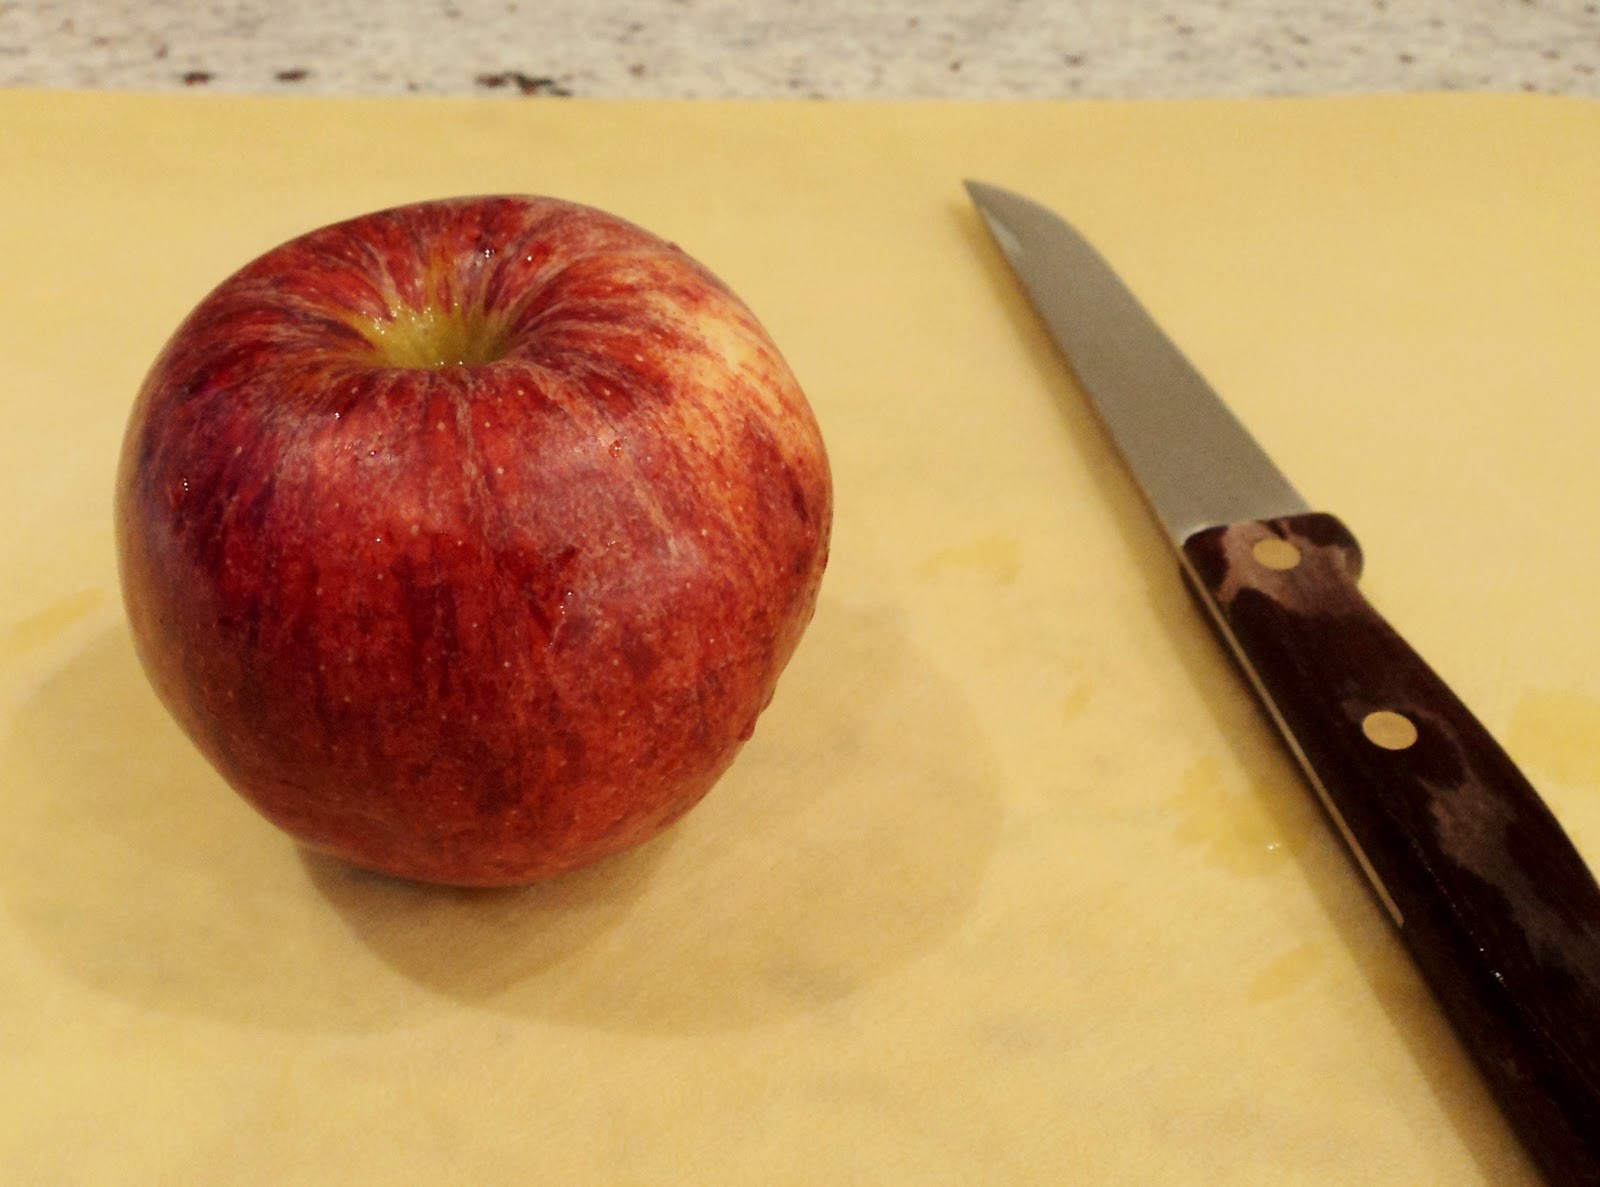
Whether you need a center piece for your fruit platter, or just want to make fruit fun, the Apple Swan does the job. It's really simple, yet looks complicated. I recommend using big apples for this, as you can get the wings as far back as is did. Also, you should brush lemon juice onto every part without skin to prevent browning.


Ingredients


All you need is a preferably big apple, washed.


Method
1.Make two slices, each equal thickness, from the top of the apple down, leaving about 1cm from the core. Discard/eat the end slice, and put the other aside.


2.Place the apple with the now flat side down, and cut along the apple horizontally until just before the core. Then cut straight down from the curved side until it meets the end of your first cut, producing a segment. Repeat with the other side, so it looks like the picture. Both these segments are now called 'segment A'.


3. Take the first 'segment A', leave 1/2cm gap, and cut down and across like before to create another segment. This is now called 'segment B'. Repeat on the other side so it looks like the picture.


 4.Repeat as many times as possible. On a big apple you should manage to create 3 segments, but 2 is fine. Align the segments with a small space inbetween to create the look of layered feathers.


 5.Cut out a small rectangle from the top of the apple, around 1cm deep.


6.Take the slice of apple you put aside, and cut a head and neck out of it, using the apple's curvature to create the curved neck. 


7.After a little carving and chipping away, push the base of the neck into the hole on the top and your swan is ready.