Showing posts with label icing. Show all posts

Wednesday, 3 December 2014

Banoffee Cupcakes

A fantastic recipe making use of my favourite flavour combination - banana and toffee. What really makes it is the rich caramel filling right in the middle. If you don't want to make the caramel sauce though, you can always buy some. Quantities were a bit weird; this ended up making about 36 mini cupcakes, and probably would make about 18-20 normal sized cupcakes.

 Ingredients

For the Cakes
225g Plain Flour
1tsp Baking Powder
1/2tsp Bicarbonate of Soda
115g Butter, Softened
170g Caster Sugar
1tsp Vanilla Bean Paste
2 Eggs, Beaten, and at room temperature
3 Bananas, very ripe, mashed

For the Caramel Sauce
125g Caster Sugar
71ml Double Cream
25g Butter
Liquid Glucose

For the Mascarpone Icing
133g Mascarpone Cheese
73g Full Fat Cream Cheese
1/2tsp Vanilla Paste
300g Icing Sugar

Banana Chips (Optional)
Chocolate Decorations (Optional)

Method
1. Preheat the oven to 180C/160C fan/350F, and grease or line some muffin trays. Beat the butter and the sugar for the cake mix in a freestanding mixer until the mix is cream-coloured. Add the vanilla paste and mix, and then gradually add the beaten eggs, making sure to mix thoroughly between each addition.

2. Fold in the mashed bananas, and then sieve in the dry ingredients and fold them in. Fill the cupcake holes/cases 2/3 the way full, and bake in the oven for 25 minutes, or unitl a skewer placed in the middle of one comes out clean. Place onto a wire rack to cool.

3. While the cakes are baking, make the caramel sauce by adding the sugar and 2tbsp water to a saucepan, and stirring on a low heat until all the sugar has dissolved. Then turn the heat to medium-high, and bring the mixture to boil, adding a squirt of liquid glucose to ensure it doesn't crystallise. 

4. Leave the mix boiling until a caramel colour is achieved, but be careful not to burn it, about 4-5 minutes. Remove from the heat as soon as you have the right colour, and stir in the cream and butter. Leave to cool completely.

5. While waiting for the cakes and sauce to cool, make the icing. Beat the cheeses in a mixer until smooth and light, then add the vanilla paste, and sieve in the icing sugar a quarter at a time, beating slow at first each time to make sure icing sugar doesn't get everywhere. Add a teaspoon or two of the caramel sauce if you want.
Mix until well incorporated and at a consistency you like. If too thick, add a small bit of milk, and if too loose, add more icing sugar.

6. To assemble the cupcakes, cut a circle into the top of each cupcake with a knife, careful not to go too deep, and cut a small hole, taking out a small cylinder of cake. Remove the bottom part of the cylinder, so you have a small cap for each of the holes, and using a piping bag or a squeezy bottle, fill each hole with caramel sauce, and place the cap on top.

7. Place the icing into a piping bag with a nozzle of your choice, and pipe on to the cupcake. Alternatively spread it on with a palette knife. Finish with banana chips and/or chocolate decorations and a drizzle of caramel sauce.

Enjoy :)

Saturday, 12 July 2014

Carrot Cupcakes

The pineapple in these keep them moist, but also add a subtle 'tropical' flavour - perfect for those like me who are stuck in a country that thinks that it's winter during summer, so at least when it's raining, you can still pretend. Makes 12 cupcakes or 24 mini cupcakes. 


 Ingredients

For the Cakes
88g Plain Flour
1/2tsp Baking Powder
1/4tsp Bicarbonate of Soda
1/2tsp Ground Cinnamon
A Pinch of Salt
1 Large Egg
100g Caster Sugar
50ml Vegetable/Sunflower Oil
1/4tsp Vanilla Extract
1 Large Carrot, Peeled and Finely Grated
30g Tinned Pineapple, Drained and Finely Chopped
2tbsp Chopped Walnuts, Plus Extra for Decorating

For the Cream Cheese Icing
22g Unsalted Butter, Softened
120g Full Fat Cream Cheese
150g Approx. Icing Sugar

Method
1. Preheat oven to 180C/160C fan/Gas 4, and grease/line a cupcake tin. Weigh and measure the flour, baking powder, bicarb, cinnamon and salt, and mix together in a bowl. 

2. Using a freestanding or handheld mixer, beat the egg and sugar until pale and fluffy; about 10 minutes. Gradually add the oil and vanilla, beating meanwhile, until combined. Sift in the dry ingredients, and fold in with a metal spoon until evenly distributed.

3. Stir in the carrots, walnuts and pineapple, and divide mixture between muffin cases. Bake for 22-25 minutes, or until a skewer inserted in the middle of one comes out clean. Leave to cool fully before icing.

4. While the cakes are cooling, beat the butter until very soft, and then add the cream cheese, mixing until completely incorporated. Then sieve in 1/3 of the icing sugar, and mix in, starting slowly. Repeat with the next third, and the last, adding milk or more sugar to reach the desired consistency. If you want to pipe it, it should be fairly thick. 

5. Pipe or spread the icing as desired on the cool cakes, and top with a sprinkle of chopped walnuts.

Enjoy :)

Tuesday, 27 May 2014

Maryland Cookie's and Cream Cake

Maryland cookies are by far the best packaged chocolate chip cookies you can find in the UK (even though they're not even made or sold in Maryland, or for that matter, the US), so why not make a cake out of them? If you haven't got buttermilk, you can just mix half plain natural yoghurt with half milk.


            Ingredients
For the Cake:
110g Unsalted Butter,Softened
380g Caster Sugar
320g Plain Flour
4tsp Baking Powder
1tsp Salt
320ml Buttermilk
3 Large Eggs
135g Maryland Cookies (or any other chocolate chip cookies)

For the Icing:
500g Icing Sugar, Sifted
160g Unsalted Butter, Softened
250g Mascarpone
3 Maryland/Chocolate Chip cookies, crumbled

Method
1. Preheat oven to 150C fan/170C/Gas 3, and line the bottom three 20cm (8inch) cake tins, and grease the sides. If you only have one, don't worry, it will just mean it will take longer, and you'll have more trips to the oven.

2. In a freestanding electric mixer or a handheld whisk, cream the butter and sugar until light and pale (it won't have the regular consistency of creamed butter and sugar as the ratio of butter to sugar is different). 

3. In a large jug, mix the buttermilk and the eggs. Very gradually, in a slow but steady stream, add about half of the jug while the mixture is being whisked, making sure it all stays well combined. Once half is added, sieve in the dry ingredients, and continue to mix on a slower speed. Then again, very gradually add the rest of the jug into the mix. 

4. Break the cookies into pieces by hand, no more than about 2cm in length, and fold into the batter. Divide into three cake tins, and place into the oven for 30-35 minutes, or until golden brown, springs back to the touch, and a skewer comes out clean. Once the cakes are cool to the touch, go around the edges of the cakes with a small palette knife to loosen it a bit, and remove from the tins, transferring them to a wire rack.

5. For the icing, use a free standing mixer or handheld whisk to cream the butter and sugar together until very light and pale, starting on a low speed so that icing sugar doesn't go everywhere. Add about a third of the mascarpone and beat until smooth, then add the rest, and mix for a few minutes on a high speed until much lighter in texture and colour. 

6. Once cakes are completely cool, you can start assembling. Take one cake, and add about 4 or 5 tablespoons of icing on top, smoothing out with a palette knife, and liberally sprinkling cookie crumbs on top. Top with the next cake and repeat. Add the last layer, and frost the top and sides of the cake, trying to ensure there are no gaps. Top with either leftover crumbs, broken up cookie pieces, or just leave plain. 

Enjoy :)


Monday, 17 June 2013

Chocolate Milk Cupcakes

Exam season is over! Time for summer holidays! A recipe trying to imitate the refreshing cold chocolate drink, it's originally from the 'Lola's Cupcakes' recipe book, but with a few alterations. I decided to experiment with the decoration, instead of the chocolate sprinkles suggested by the recipe, I decided to do a range of toppings; cake crumbs, chocolate shards and chocolate leaves. It's up to you which one you choose, but each method is in the instructions. Makes 12 Muffins or 24 Mini Muffins.

 Ingredients

For the Cake
2 Eggs, Beaten
50g Dark Cooking Chocolate, Chopped
87g Butter
112g Caster Sugar
50g Self-Raising Flour
                      1 1/4 tbsp Cocoa Powder
A Pinch of Salt 

For the Vanilla Buttercream
60g Butter, Softened
250g Icing Sugar
1/2 tsp Vanilla Extract
2 tbsp Milk

For the Chocolate Leaves/Shards
50g Dark Cooking Chocolate 
Small, edible, non-toxic leaves with deep veins, such as bay leaves, mint leaves or rose leaves - Thoroughly Washed and Dried 

Method

1. Preheat the oven to 180C/Gas mark 4, and grease a 12 hole muffin tin, or a 24 hole mini muffin tin.

2. Melt the chocolate and the butter together in a bain-marie, remove from heat, and stir in the sugar. Let the mixture cool for about 10 minutes, and transfer into a mixing bowl.

3. Beat with an electric hand mixer for about 3 minutes, then gradually pour in the beaten eggs, mixing well between each addition. Sieve in the flour, cocoa and salt, and fold in with a metal spoon until incorporated. 

4. Pour the mixture into the tin, filling the holes up around just over 3/4 of the way, and bake in the oven for 20-25 minutes, or until well risen, and if a skewer is placed inside, it comes out clean. Leave for 10 minutes to cool, then with a small palette knife, gently ease the cupcakes out by going around the edges of the holes, and leave to cool on a wire rack. If you want to decorate your cakes with crumbs, scrape the residue left on the tin, and reserve for later.

5. While they're cooling, for the chocolate leaves, melt the chocolate in a bain-marie. With a pastry brush, or a small palette knife paint the underside of the leaves, and gently place on a sheet of greaseproof paper on a baking tray. Place in the fridge to set. Once completely set (around 20 minutes), gently peel the leaves away, and place the chocolate back onto the greaseproof paper, and chill until use.

6. Alternatively, for the chocolate shards, melt the chocolate in a bain-marie, and using a palette knife, quickly spread the chocolate onto a sheet of greaseproof paper into a layer around 2mm thick, and roll the sheet into a cylinder. Place the cylinder in the fridge until the chocolate is completely set (around 20 minutes), and remove from the fridge. Unroll the cylinder, and the chocolate should break into shards. Make them smaller if needed by breaking the pieces apart with your hands. Chill until use.

7. For the Buttercream, beat the butter in a mixing bowl until very smooth and creamy, and then sieve in half of the icing sugar. Using a spoon first, slowly mix the butter and sugar together, and then once most is incorporated, use a hand whisk. Repeat for the rest of the icing sugar, and then add the milk and vanilla extract. 

8. Once the cupcakes are completely cool, using either a piping bag fitted with a star nozzle, or a palette knife, apply the icing to the cupcake. Add your desired decoration - be very gentle with the leaves as they are extremely delicate. 

Enjoy :)


Monday, 25 March 2013

Simple Artisan Macaroons


Since it's Passover, I decided to include a flourless recipe for my blog. I am no expert in macaroons, but these turned out pretty good, and are really much easier than they seem. Try to use aged egg whites, you can fill them with whatever you want, but I have included a recipe for buttercream. Makes about 15.


                       Ingredients

For the Macaroons
230g Icing Sugar
60g Caster Sugar
4 Large Egg Whites
120g Ground Almonds
Pinch Of Salt
                 Food Colouring (Optional)

               For the Buttercream Filling
                    150g Icing Sugar
              50g Butter/Margarine, Softened
                      Milk or Water
                 1/2tsp Vanilla Extract

Method
1. Pass the ground almonds, icing sugar and salt through a sieve twice, and throw away any bits or lumps that don't pass easily. Preheat the oven to 150C/Fan 130C, and line two baking trays with non stick paper. 

2. Whisk the egg whites and caster sugar to form stiff peaks, and then add your desired food colouring. Be quite liberal with it, as the colour fades while baking. Whisk for about 1 minute. 

3. Fold the almond and sugar mix in with a spatula, but be careful not to overmix; it should be quite thick yet smooth, and shouldn't easily run off the spatula if held above the bowl. 

4. Fill a piping bag with the mix, and pipe small circles onto the trays, letting the little end flick go over the circle. Once finished, rap the trays against the worktop a few times to prevent cracking. Leave to rest for 30 minutes.

5. Place in the oven for around 22 mintues, or until they come off the tray cleanly, and leave to cool.

6. Beat the butter in a mixer until creamy, then sieve in the icing sugar and pour in 2tsp water/milk and vanilla. Let it mix for around 5 minutes until completely smooth and pale in colour. You want a fairly thick paste consistency, so add more icing sugar/liquid if needed. 

7. Pair the macaroons with ones that fit together well, and spread a large dollop of buttercream on one half with a palette knife, leaving a bit of room by the edge. Place the other half on top, pressing down gently while moving it in a circle to spread the buttercream around to the edges.

Enjoy :)

Saturday, 8 December 2012

Jammie Dodgers: My Take

'If it 'aint broke, don't fix it' - Bert Lance. I decided to take on the challenge of making a variation to jammie dodgers, and it actually worked quite well. Essentially I have made a brown sugar shortbread biscuit with reduced strawberry jam in the middle and a lemon icing on top. This recipe made about 32 biscuit sandwiches for me as I experimented with quantities of ingredients, so get ready for multiple trips to the oven!


 Ingredients

For the Biscuits:
225g Unsalted Butter, Softened
100g Brown Sugar
100g Caster Sugar
412g Plain Flour
1 Egg, Beaten
2tsp Baking Powder
2tbsp Milk
1/2tsp Vanilla Extract
Pinch of Salt

For the Jam Filling:
340g Strawberry/Raspberry Jam
Few Drops of Lemon Juice

For the Lemon Icing:
150g Icing Sugar, sieved
1tsp Lemon Juice

Method
1. Beat the butter until creamy and fluffy, then add both of the sugars gradually. Mix until very light in colour and texture. Gradually add the egg, beating well after each addition.

2. In a separate bowl, combine the flour, baking powder, and salt, and add to the butter mix gradually, alternating with the milk, mixing at a low speed between each addition. Add vanilla extract. 

3. Divide dough into to two portions, wrap in cling film and chill for 20 mins. 

4. Preheat oven to 180C/fan 160C and line a few baking trays with greaseproof paper. Roll out the dough on a lightly floured surface to about 1/8 of an inch thickness. Using a 2 inch cookie cutter, cut out as many rounds as possible, and reroll and cut the remaining pastry until as much as possible is used up. In half of your biscuits, either using an apple corer, or a smaller cutter, cut out a hole in the middle.

5. Place biscuits onto baking trays and bake for about 10 mins or until slightly browned. When they come out the oven they will be soft, but they will harden. Cool on a wire rack.

6. To prepare the jam: pass all of the jam through a sieve to remove lumps and seeds. Then place into a saucepan with a few drops of lemon juice, and heat on a medium-low heat until steaming, then let it simmer on a lower heat for 2 mins. Chill in the fridge while preparing the icing.

7. To prepare the icing: Mix the icing sugar and lemon juice to form a loose paste - add more icing sugar/lemon juice if necessary. Put the icing into a piping bag with a small plain nozzle. Place all of the cooled biscuits with the hole in the middle on a sheet of greaseproof paper bunched together, and pipe long lines across all of them. Leave to set.

8. Take the jam out of the fridge and lightly spread the biscuits without the hole with a palette knife. Once the icing has set on the tops, place them on top, giving it a light push, so some of the jam will move to the hole in the middle. Add a drop of jam into the hole of each biscuit. 

9. Leave the biscuits in the fridge for the jam to firm up, and they will be ready. Enjoy :)


Monday, 3 September 2012

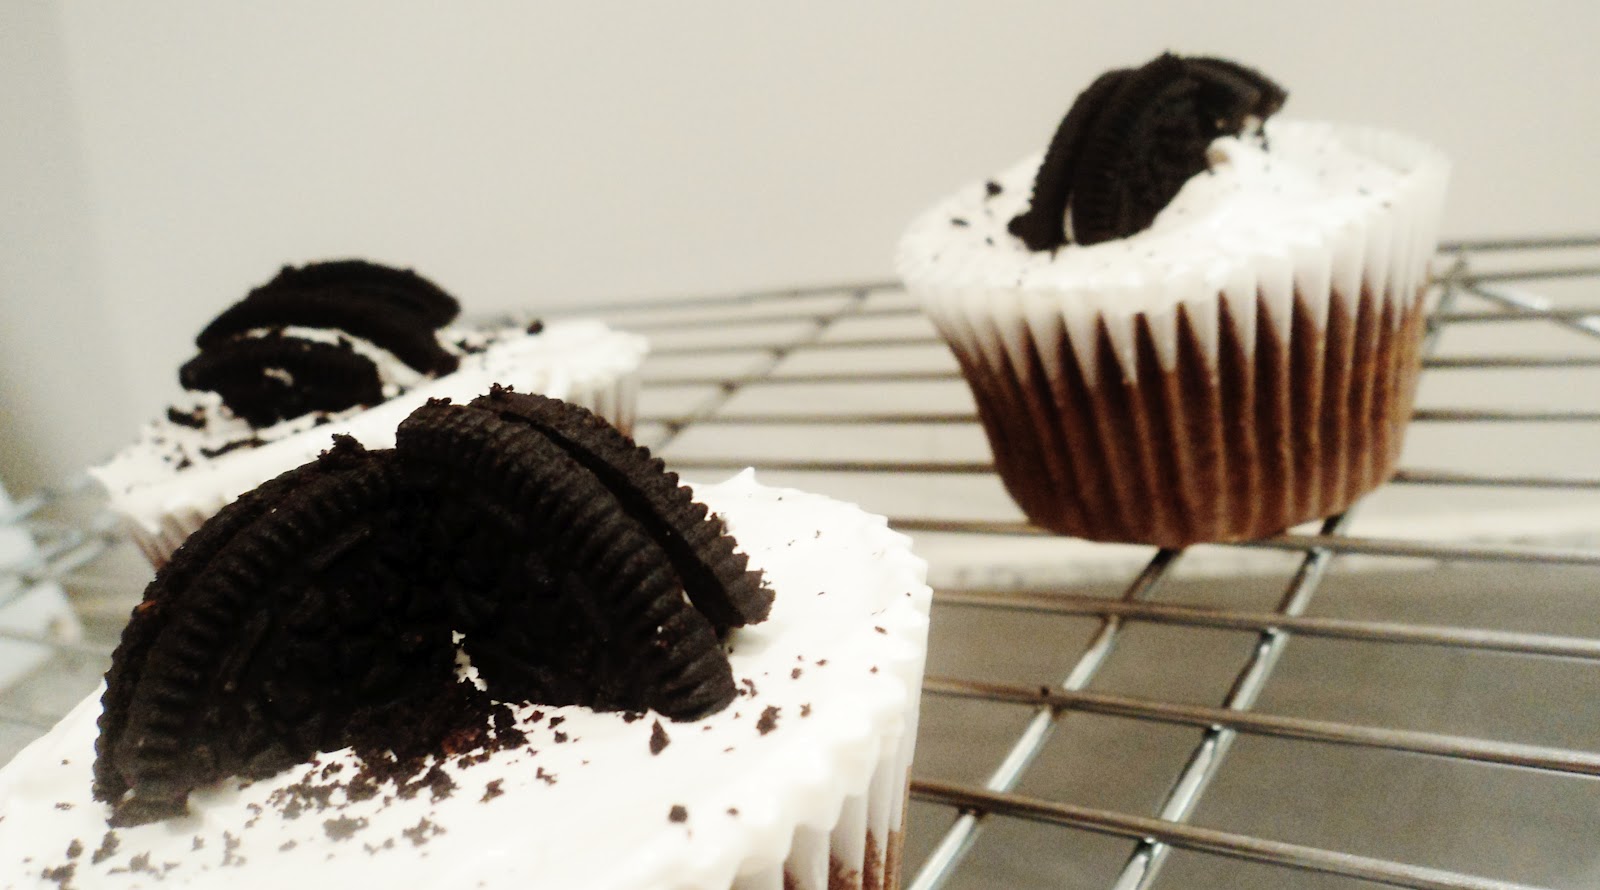
Cookies 'n' Cream Muffins with Homemade Marshmallow Fluff Icing

I don't think I have met one person who doesn't like oreos; so this recipe will suit everyone! Minus my tweaks, the original recipe was from the 'Primrose Bakery', and is the best cookies n cream cupcake/muffin recipe I have found yet, and it works great with the marshmallow fluff icing! It makes around 18 muffins(use a muffin tin, not a cupcake tin). The Marshmallow Fluff recipe makes a lot, so once you've finished icing, store the remaining fluff in the fridge to eat with toast, or use in cakes, drinks etc.                                                             


Ingredients


Cupcake Mix (the 'Cookie')
115g Dark Chocolate
85g Butter
175g Light Muscavado Sugar
2 Eggs (separated)
185g Plain Flour
3/4tsp Baking Powder
3/4tsp Bicarbonate of Soda
Pinch of Salt
250ml Semi-Skimmed Milk
1tsp Vanilla Extract

Marshmallow Fluff Icing(the 'Cream')
120g Granulated Sugar
80g Golden Syrup
1.5tbsp Water
2 Egg Whites
1/2tsp Vanilla Extract

1 Pack of Oreos 

Method
1. Preheat oven to 190C/fan 170C/gas mark 5. Line a 2 12 hole muffin tins with about 18 muffin cases (if you only have one tin, you can bake them in batches).

2. Melt the chocolate in a heatproof bowl over simmering water, or in the microwave. Leave to cool for about 2 minutes.

3. Cream the butter and sugar in a stand mixer until pale and smooth, then slowly add the egg yolks bit by bit and beat well. Once combined, add the melted chocolate and beat well again.

4. Sift the flour, baking powder, bicarbonate of soda and salt into a medium mixing bowl and mix together until combined. Measure the milk into a jug and stir in the vanilla extract.

5. Gradually add alternate amounts of the dry floury mix and the milk mix into the creamed butter/sugar/chocolate mix, beating well between each addition.

6. In a clean bowl, using a handheld electric whisk, whisk the egg whites until stiff peaks have formed. Then, using a spatula or a metal spoon, fold in the egg whites into the batter until thoroughly combined.

7. Using two spoons, spoon the batter into the cases, filling them about 2/3 of the way up, and bake for around 20 minutes (you'll know if you put the right amount of mix in if it's ready in exactly 20 minutes), or until when you stick a skewer in one, it comes out clean. If you don't have two muffin tins like me, cooking in batches might take a while, so start on the icing once the first batch is done.

8. For the marshmallow fluff icing, put the sugar, golden syrup and water into a pan, and cook on a high heat for about two minutes until the mixture thickens and turns golden (it will resemble caramel).

9. Whisk the egg whites until soft peaks form, then keep beating while slowly adding the hot sugar mixture. Don't worry if your whites lose their stiffness.

10. Continue beating at a higher speed until the mixture becomes thick, glossy and cool. Towards the end, add the vanilla extract. 

11. Wait about 10 minutes for the muffins to cool a bit before adding the icing, then spoon on a small dollop onto each muffin, and smoothen out with a small palette knife, or a round-ended knife.

12. Chop your oreos into quarters, and save the crumbs. Place two quarters on each cake, and sprinkle the remaining crumbs around them. 

And as always, enjoy! :)


Tuesday, 21 February 2012

Millefeuille (Layer Cake)

Sometimes I find the best recipes come from the old, traditional books. In one of my grandma's dusty, ancient book of bakes, I found a recipe for this treasure: Millefeuille (more commonly known as cream slices). You can make it out of puff pastry; I'm going to put the recipe for rough puff (a more simple and faster type) but there is still nothing wrong with just buying frozen puff pastry.


               Ingredients

For the Rough Puff:
A squeeze of lemon juice
9 oz. Plain Flour (sifted)
6 oz. Cold, Cubed Butter/Lard
Cold Water


For the Filling:
1 Medium-Sized Carton Whipping Cream/Double Cream (or just a can of whipping cream)
Sugar
1/2 Jar of Raspberry/Strawberry Jam

For the Glace Icing:
Icing Sugar
Water
Cocoa Powder (optional)

Recipe
1. Line a baking tray, and heat oven to 220C/Fan 200c/Gas 7. Mix the butter with the plain flour well, but being careful not to break the cubes of butter. Add the lemon juice while stirring, still not breaking the butter, then slowly, bit by bit add some cold water, all the time mixing, yet still not breaking up the butter, until you get a stiff dough. If the dough is too sticky, add more flour.

2. While handling the dough as little as possible, roll the dough out on a floured surface into an oblong shape three times it's width. If you see the lumps of butter really melting, or if it's sticking too much, refrigerate wrapped in cling film for half an hour. 

3. Fold the top third of the dough down, and the bottom third over it, and rotate 90 degrees. Roll out to the oblong shape again, and repeat at least 3 more times. Leave aside wrapped in grease proof paper for half an hour before the next step.

4. Roll dough out on floured surface into a rectangle about 1cm thick, 6'' across, and the length of your tray (you may have to cut your dough so it fits). Place your dough on the tray and cut into 2'' strips across, and keeping them together, and put in the oven until golden brown, and bubbles can be seen on the surface. Leave to cool.

5. If using cream from a carton, add some sugar (but not too much - taste as you are doing it) and whisk until stiff. Then, once the pastry is completely cooled half each strip. Gather the strips in groups of three, and spread two of each group with jam (only on one side). Then spoon some cream onto the two, and sandwich together with the third.

6. Once finished arranging your Millefeuille, mix some icing sugar with a few drops of cold water to form a thick paste. Spread over the tops of your Millefeuille, and if needed make more. You can also make a small batch of chocolate icing, by adding some cocoa powder, and then to make a little motif, spread it in lines over the white icing, then cut through it with a toothpick.